
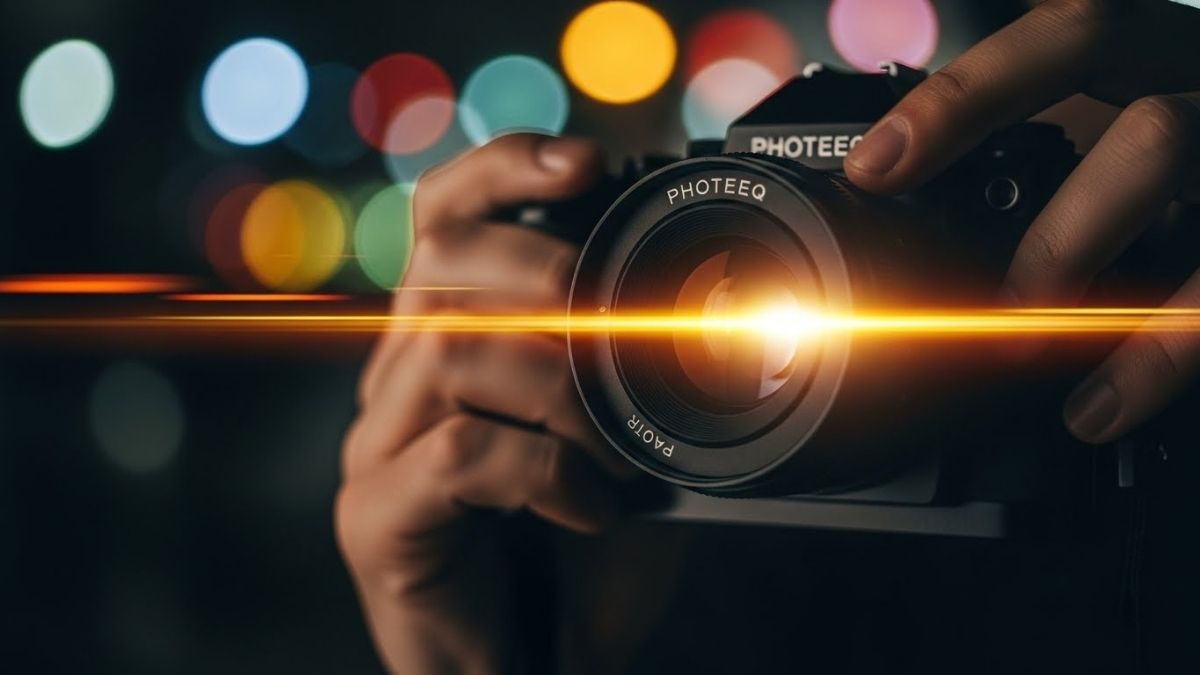
Photography is all about capturing moments and emotions, but what if you could elevate your images to a whole new level? Enter the Photeeq Lens Flare. This innovative tool allows photographers of all skill levels to infuse creativity into their work with stunning visual effects. Whether you’re shooting landscapes, portraits, or product photography, lens flare can add an ethereal quality that captivates viewers.
Imagine sunlight streaming through trees or a golden glow enveloping your subject. These magical elements can transform ordinary photos into extraordinary pieces of art. Ready to unleash your creativity? Let’s explore how the Photeeq Lens Flare can help you create breathtaking visuals that leave a lasting impression.
Understanding the Basics: What is a Lens Flare?
A lens flare occurs when light shines directly into a camera lens, creating bright spots or streaks of light in your image. This phenomenon can add an artistic touch to photographs, making them feel more dynamic.
There are two main types of flares: the circular blobs often seen as halos and linear streaks that extend from bright light sources. Both effects happen due to reflections inside the lens elements.
Understanding how these flares interact with your subject is key. They can enhance mood or emphasize certain aspects of a photo. However, they can also detract from clarity if not used carefully.
Playing with angles and light direction helps control their appearance. With practice, you’ll discover how to harness this effect instead of merely stumbling upon it by chance.
Tips for Using Lens Flare in Your Photography
When incorporating lens flare into your photography, subtlety is key. Aim for a gentle touch rather than overwhelming your composition.
Position your light source strategically to create dynamic effects. This often means shooting directly into the sun or another bright light source while adjusting the angle.
Experiment with different settings on your camera. Play around with aperture and shutter speed to see how they affect the intensity of the flare.
Consider focal points carefully. Lens flares can guide a viewer’s eye, so use them to enhance important elements in your image.
Don’t shy away from post-processing tools either. Enhance or reduce flare effects during editing to achieve just the right atmosphere for each shot.
Practice makes perfect! The more you experiment with lens flares, the better you’ll understand how they can elevate your images creatively.
Getting Creative: Using Different Types of Lens Flares
Getting creative with lens flares can transform ordinary images into extraordinary works of art. Explore various types of lens flares to discover unique effects.
Consider using a subtle, soft flare for dreamy landscapes. This type enhances the ethereal quality without overpowering your main subject.
In contrast, bold and vibrant flares work wonders in urban photography. They add an energetic vibe that complements cityscapes during golden hour.
Don’t shy away from experimenting with colors! Colored flares can inject personality into portraits or product shots, making them pop against a muted background.
Remember to play with placement as well. Positioning the flare at different angles can create interesting focal points and draw viewers’ attention to specific areas in your composition.
The possibilities are endless when you start thinking outside the box. Let your imagination guide you while working with these fascinating elements.
Enhancing Your Images with Photeeq Lens Flare
Photeeq Lens Flare is a game-changer for photographers looking to elevate their images. By incorporating this effect, you can add depth and dimension that captivates the viewer’s eye.
Imagine capturing a sunset with shimmering light particles dancing across your frame. This effect transforms ordinary shots into extraordinary pieces of art.
When using Photeeq, consider the placement of the flare carefully. A well-placed lens flare can guide attention toward your focal point without overwhelming it.
Experimentation is key. Try layering different flares and adjusting their opacity to create unique looks tailored to your style.
Don’t shy away from combining natural elements with digital enhancements, as they often complement each other beautifully. With Photeeq Lens Flare in your toolkit, stunning visuals are just a click away.
Common Mistakes to Avoid when Using Lens Flare
One common mistake photographers make is overusing lens flare. While it can create a stunning effect, too much can distract from the main subject. Balance is key.
Another pitfall is neglecting the direction of light. Positioning your source incorrectly may lead to unnatural-looking flares that don’t enhance the image. Always consider how light interacts with your scene.
Some forget about post-processing adjustments. Flares might need fine-tuning in editing software to ensure they blend seamlessly into the composition rather than overpower it.
Also, avoid relying on lens flare as a crutch for poor lighting conditions. It’s essential to understand when natural light works better without artificial enhancements.
Be wary of using generic presets that apply lens flares uniformly across different images; they can result in inconsistency and reduce originality in your work.
Conclusion
Using Photeeq Lens Flare opens up a world of creative possibilities for photographers. By understanding the basics of lens flare and experimenting with different types, you can enhance your images in ways that captivate your audience. Remember to keep it natural, avoid common pitfalls, and let your creativity shine through.
The right lens flare can transform a simple photo into a stunning visual masterpiece. With practice and experimentation, you’ll discover how to use Photeeq Lens Flare to elevate your photography skills. So grab your camera or editing software, add some flair to your images, and unleash the full potential of this powerful tool!